Alerts Overview
"Alerts Overview" is the default tab visible on your screen. It provides a snapshot of all alerts created in the project, who they have been assigned to, and their resolution status.
.png)
To dive further into this section, you can toggle between Overview and Underlying Details tabs located at the bottom of the work area.
All Alerts
The “All Alerts” tab shows all the alerts created so far in the project. This tab provides the details of all alerts in a grid format containing details such as alert id, module it was created in, person who created it, who it was assigned to, and alert status.
To access further details of a specific alert, click on an individual hyperlinked "Alert Id". You will be taken to a new tab where the work area will display all the features of the selected alert. This feature may also be accessed under My Alerts, i.e., for all alerts created or assigned to you.
The navigation path when you select an alert id will depend on the alert status.
New Alert - Navigates to Risk Profile
In-Progress Alert - Navigates to Questionnaire
Closed Alert - Navigates to Summary
.png)
Summary
The summary tab is the default display tab shown when any alert id is selected. It displays an overview of the alert such as who created the alert, due date, type and business category..png)
Now, you can change the template in the Alert Summary screen.
Example: While creating an alert, if template S1 was selected, it can now be changed to S2 in the summary screen.
Rules:
Before any action is performed on the alert, the template can be changed.
Once any action is performed, the template change option is disabled.
Only active templates are shown in the dropdown. Inactive templates are not available for selection.
Once the alert is closed, all checkboxes are greyed out, and no further actions can be performed.
Risk Profile
Entity Profiling
Risk profile screen displays the entity transactions, in this case vendors, tagged to the alert while initiating the alert. In the first tab under risk profile screen, the entity profile, displays only one record, which is the entity transaction, in this case the vendor.
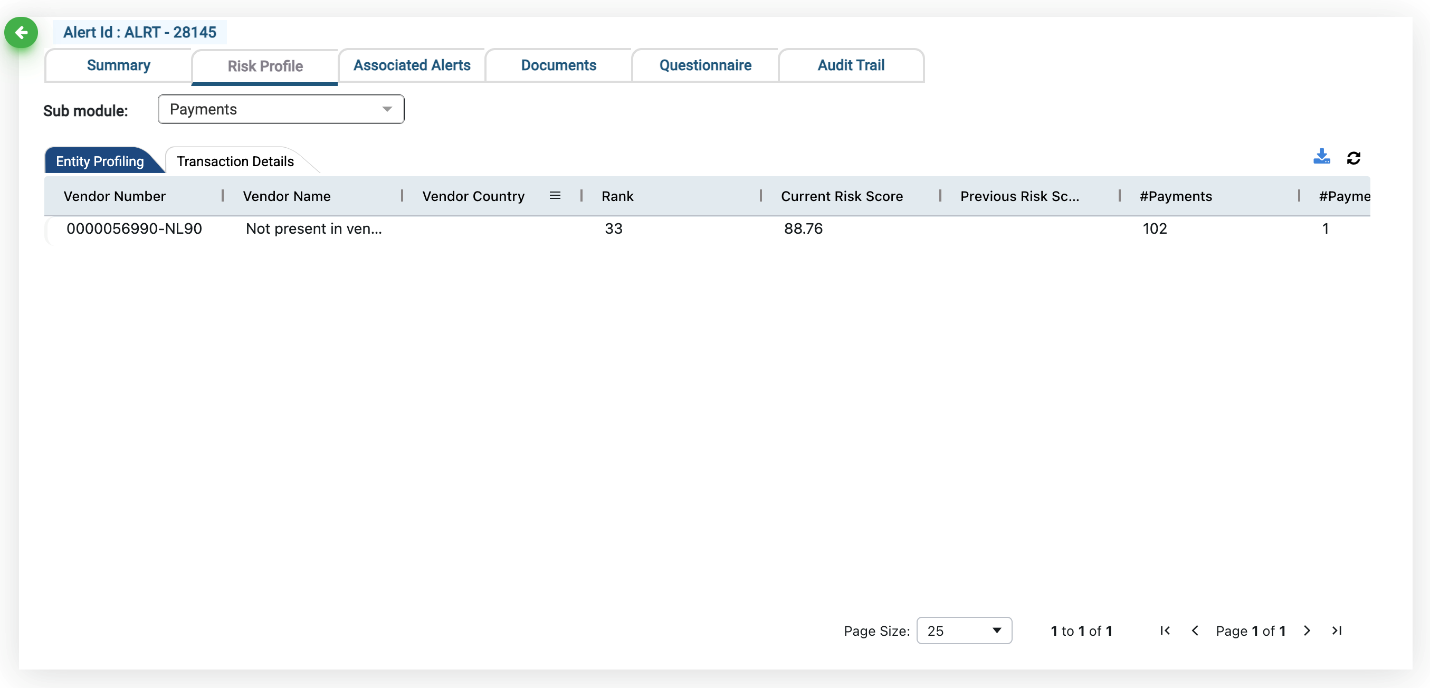
When selecting an alert on the Alert screen, make a note of the Entity ID/Entity Name.
The entity id/entity name are displayed as Vendor ID/Vendor Name in the risk profile screen.
By cross verifying the number, you can ensure that your data is accurate.
Transaction Details
This tab shows all transactions which are related to the identified entity.
The Action column of this tab lets you view OCR documents and duplicate transactions. The highlighted double document icon indicates that the selected alert has a duplicate transaction associated with it.
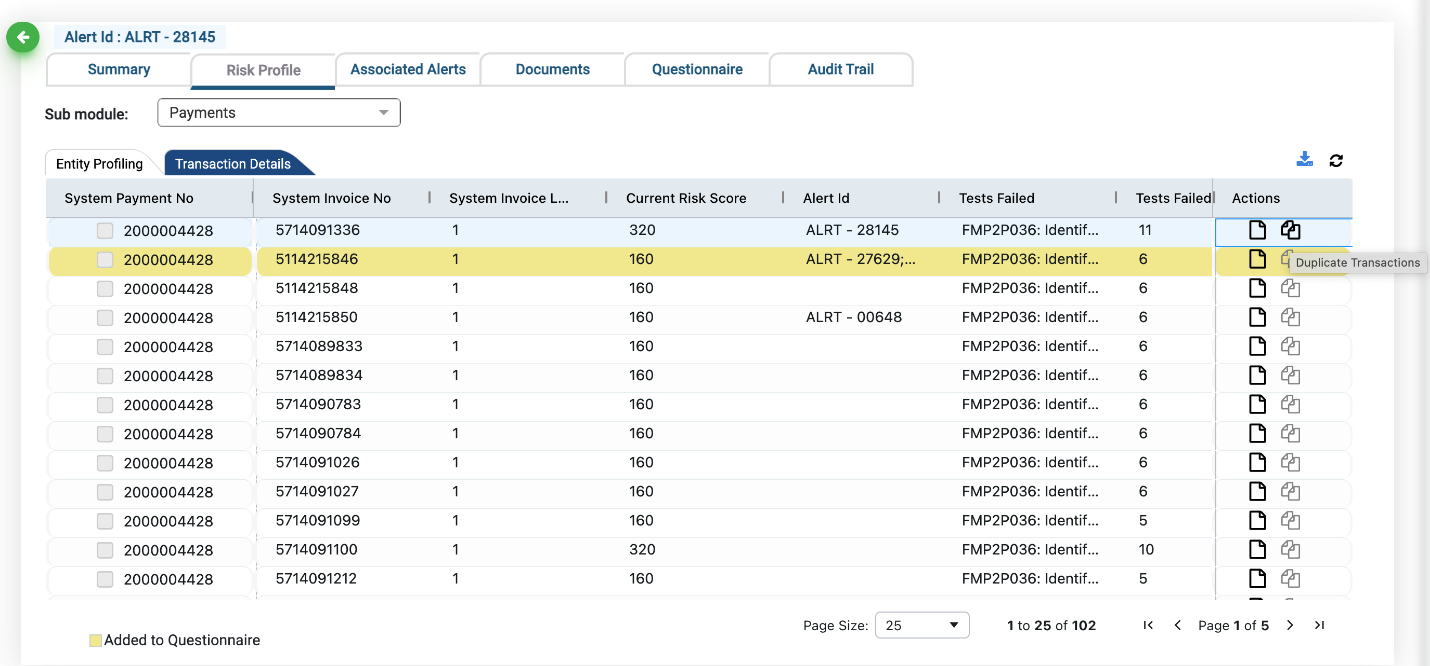
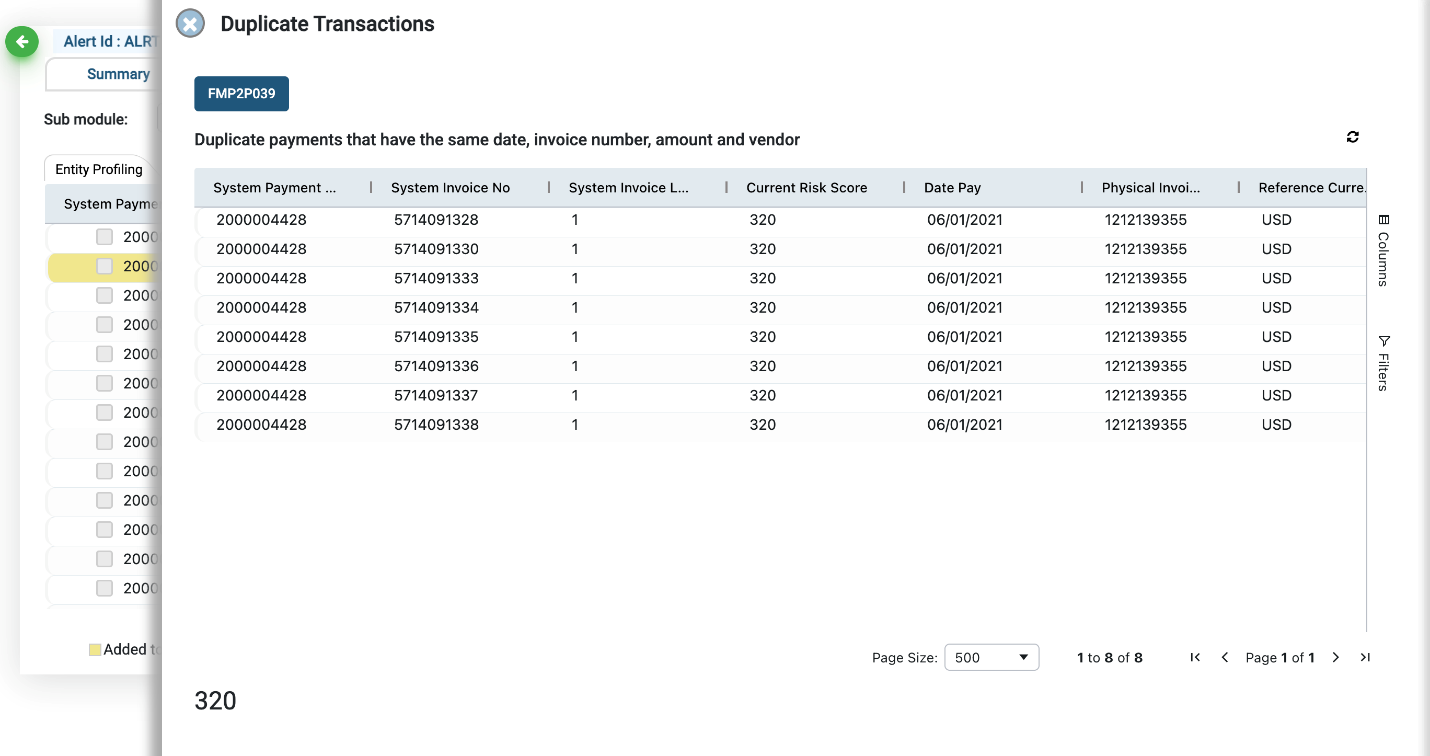
Click on the highlighted “duplicate transactions” icon in the action tab.
A new sliding window will open on your screen.
This screen depicts all details pertaining to the duplicate transaction.
Alerts highlighted in yellow on the transaction grid indicate that the alert has been added to a questionnaire on the application.
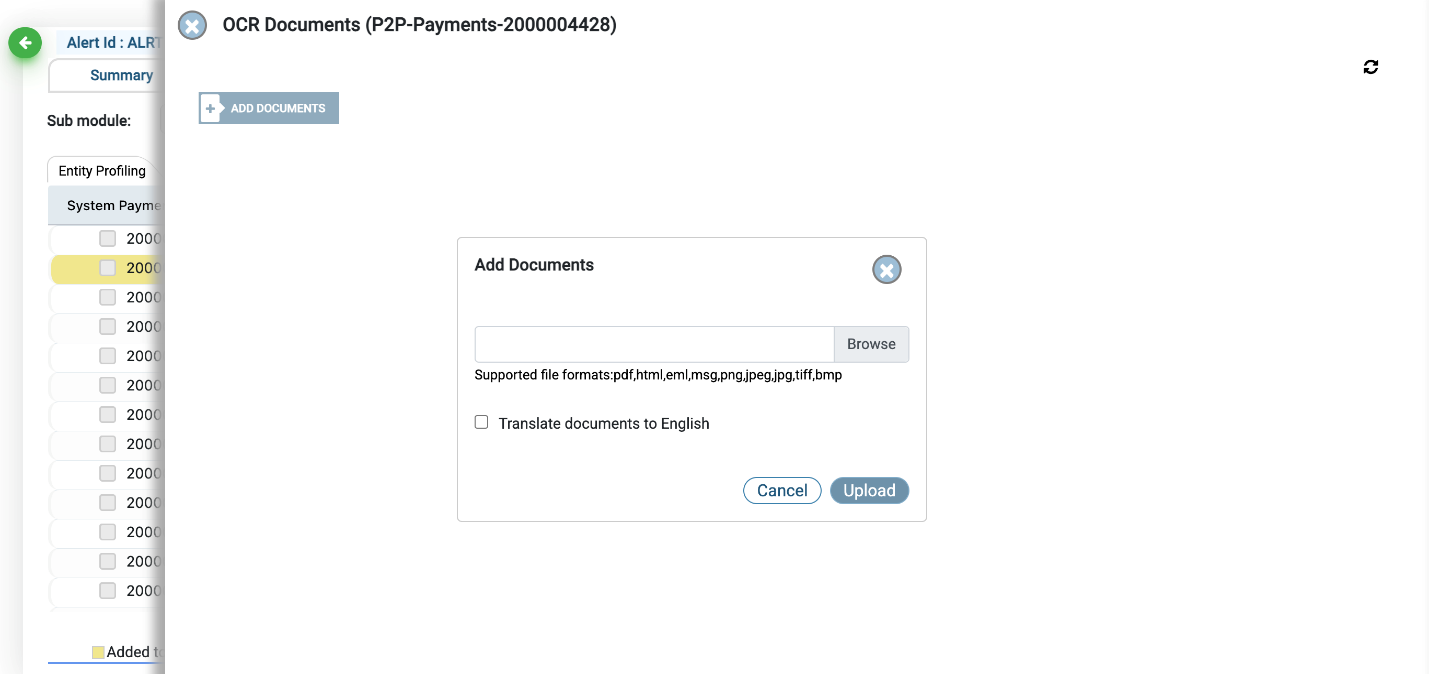
Clicking on the OCR icon in the action column opens a new sliding window where the user can view any documents added to the alert or add new OCR documents.
Click on the “Add document” button to upload OCR documents to the alert.
For an alert created or assigned to you, you will also be able to view an additional column called “Untag” next to the “Actions” column.
This column indicates whether an alert has been added to a questionnaire on the application.
If you wish to remove the alert from the questionnaire, click on the untag icon, a pop-up will appear on your screen asking you to confirm your action.

You will also be able to add comments to alerts that you have created or were assigned to you, by clicking on the blue “Add comments” icon above the grid.
These comments will be displayed on the summary screen of the alert.
To add a transaction to the questionnaire, select the transaction and click on the green “add to questionnaire” button on your screen.
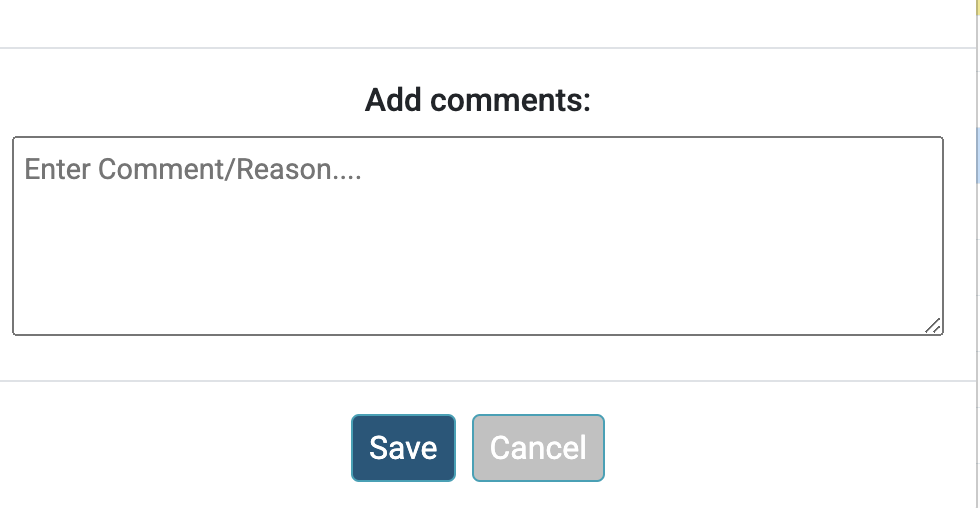
In the pop-up on your screen, you can add additional comments for the transaction.
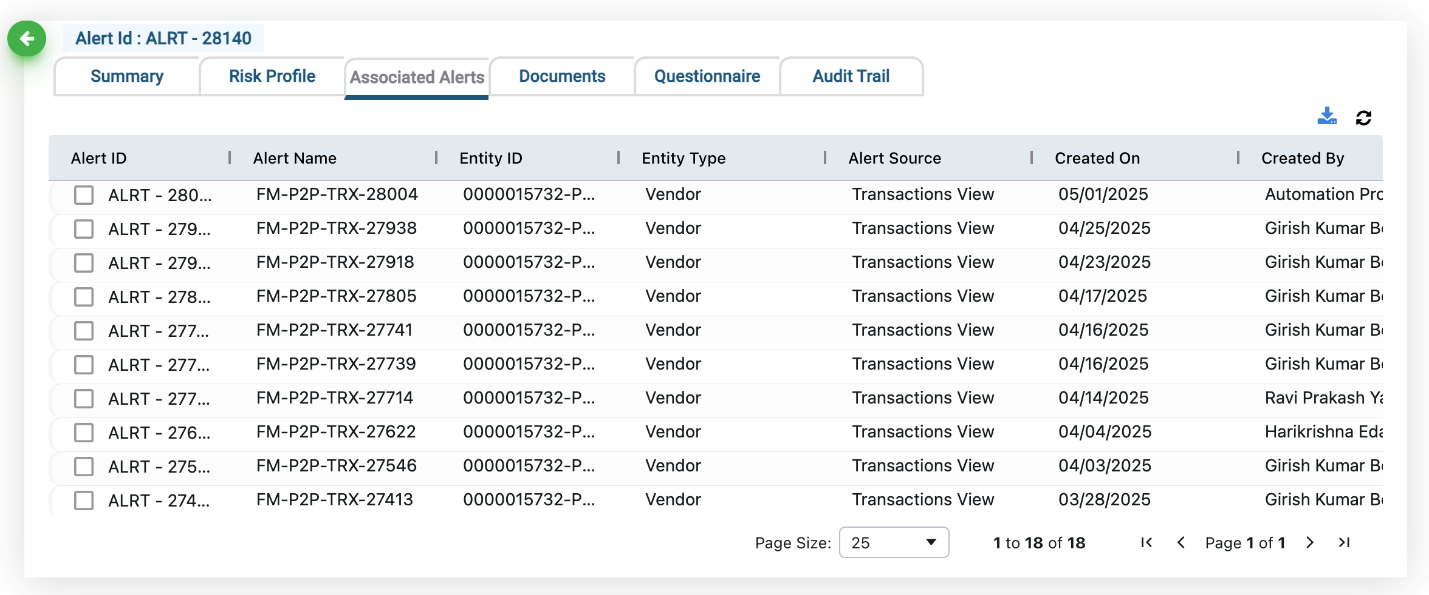
Associated Alerts
When you select any transaction from the Transaction View screen (or other relevant screen), the Alert ID column displays the alert IDs of all previously created alerts for that transaction.
These alerts are also shown in the Associated Alerts screen.
Documents
The documents tab displays the list of documents added to the alert as support documents. These details could include the module, file name, comments, created on, or created by.

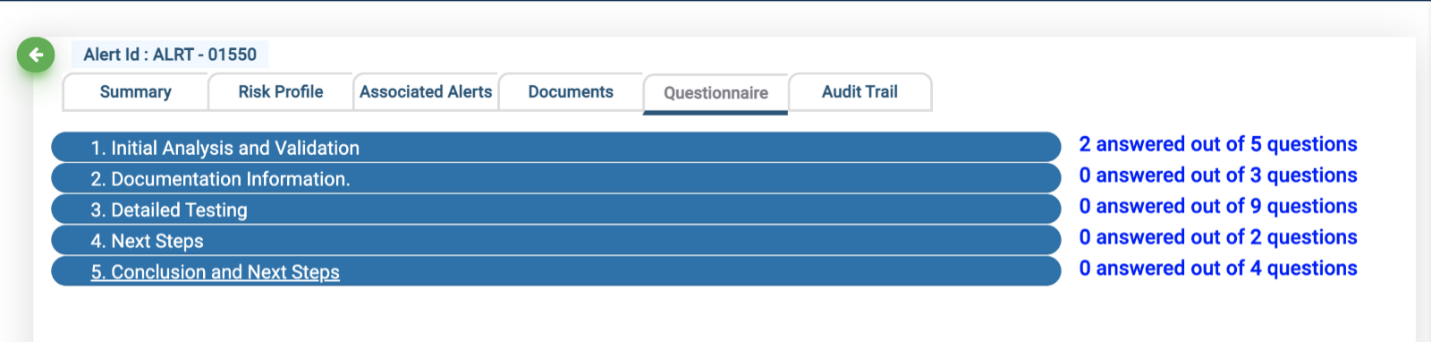
Questionnaire
A list of the questions based on Risk/module and alert entity is displayed for the reviewer. Click on the links to open the respective questions.
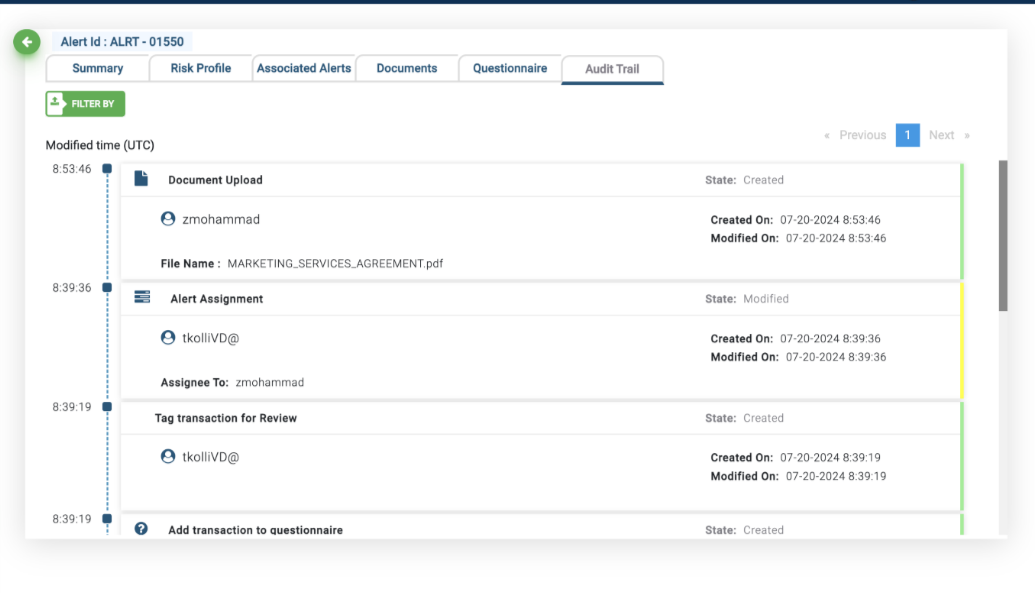
Audit Trail
As the name suggests, Audit trail is a detailed list of all the actions performed on the Alerts, right from alert creation to Alert closure.
Review and Conclude Each Alert
Based on your analysis and testing of the hypothesis, draw conclusions about the problem or area of concern you identified. Use this information to develop recommendations for improving the business processes and reducing the risk of similar issues in the future.
As you analyze the transactions, consider if more review is needed for this transaction. Also, consider if the issue that led to the creation of this case alert is something you would like to consider in the future.
My Alerts
The “My Alerts” tab will only show the alerts that have been created by you or assigned to you. It is in this screen that you can delete cases, download case reports and follow up on alerts that you need to investigate.
Case Investigation Report
The case investigation report serves as a quick summary of a specific alert providing you with details such as vendor name, transaction details, and no. of transactions. You may only download the case investigation report(s) from the “My Alerts” tab.

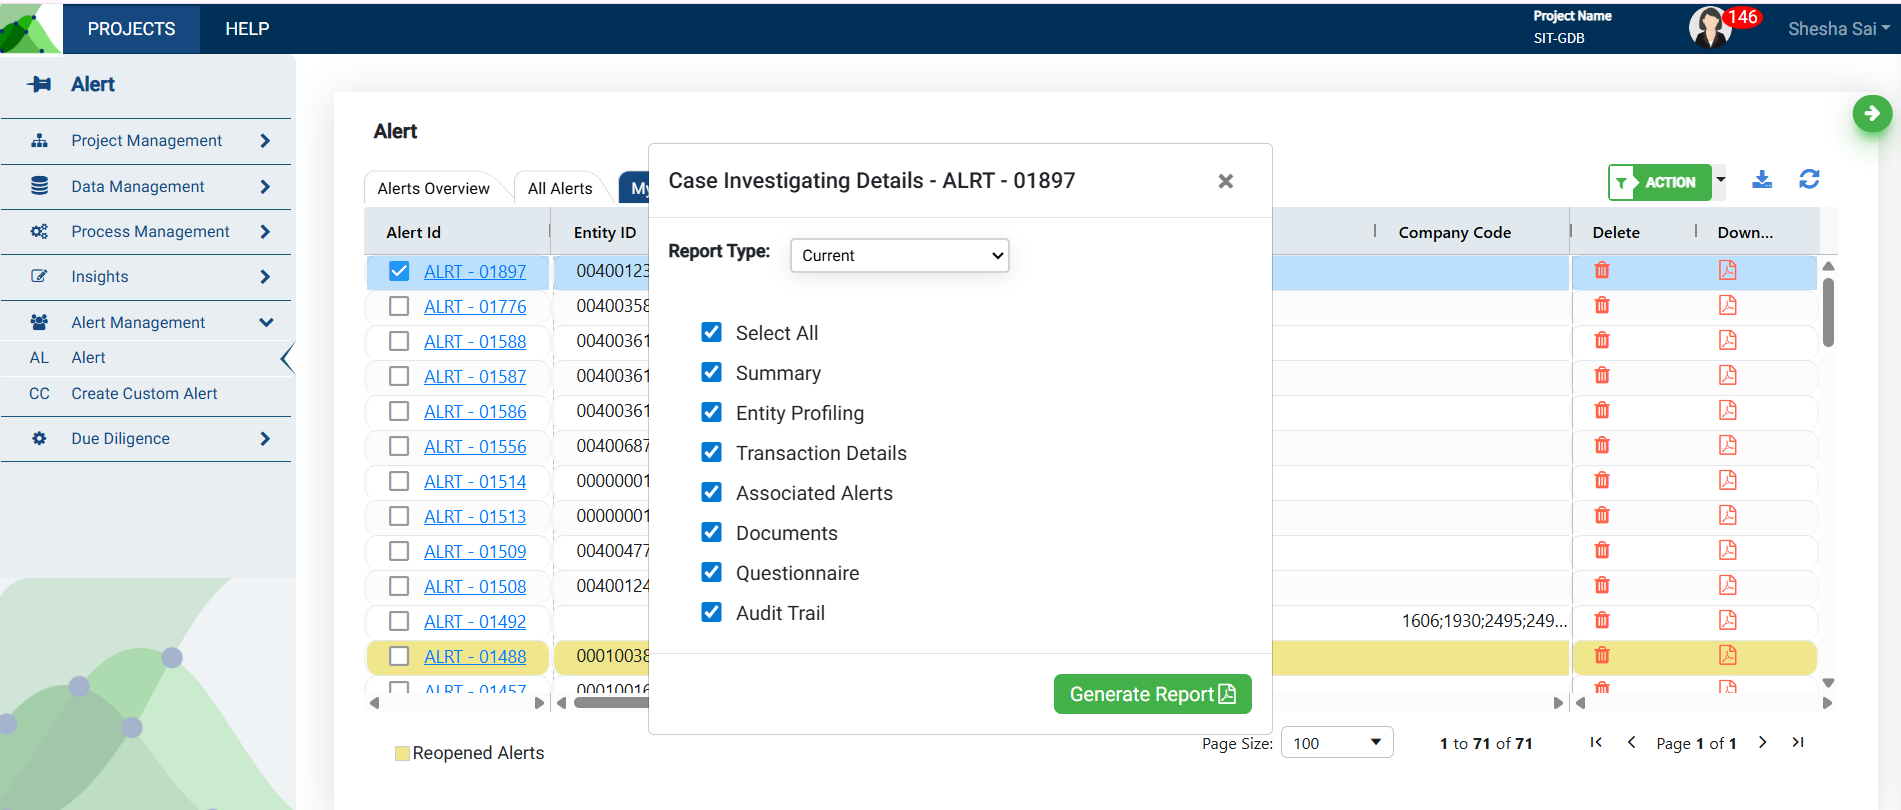
Steps to Download the Report
Navigate to the “My Alerts” tab.
Click on the pdf icon under the column “Download” for your alert specific case investigation report.
Select the type of report you wish to download - initial, Current, or Closed.
Initial - When an alert is created by a user, the system generates a report and stores it for record. This report provides an overview of the alert in its initial stages.
Current - This report includes any changes made to the questionnaire or other elements of the alert, after an alert has been created. When generating this report, users have the option to select the titles they wish to view in the report. By default, all the fields are selected.
Closed - A report can also be generated for an alert that has been closed.
Click on “Generate Report” to download a pdf document.
You may customize and generate multiple reports.
To delete an alert assigned to you, click on the “delete” icon associated with the alert id.
Archived Alerts
This functionality is only available to users assigned an “Admin“ role. Any alert deleted by a user is archived so the admin can retrieve the alert at a later point if required. Click the red icon under the “Restore” column to add the alert back to the project.
If a user is deactivated, the admin receives an email with a list of all alerts assigned to the user, which then must be closed or re-assigned to other users in the application.
The alert audit trail shows who created the alert, when it was deleted, and restored.
Additionally, users receive an email notification when an alert is deleted or restored and assigned to them.
.png)